Having looked at a number of posts around the web about interacting with Ethereum contracts via the Javascript web3 api, I discovered that most of them seem to be relevant to the older beta version of web3 and they will not work for the current version. So I decided to do a quick blog about how to successfully interact with a contract via node.js and web3. Please feel free to leave feedback below and I will attempt to answer.
Getting Started
Step 1: Decide on your test network
- You could deploy to the ethereum test network https://www.rinkeby.io/#stats
- You could use the Ethereum test-rpc
- You could install Ganache which is part of the Truffle suite (but that’s for another blog)
For this example I’ve chosen to use Ganache because I like the UI. You can start Ganache like any regular windows program and this will result in a running local Ethereum instance which has 10 accounts created. Each with a balance of 100ETH.
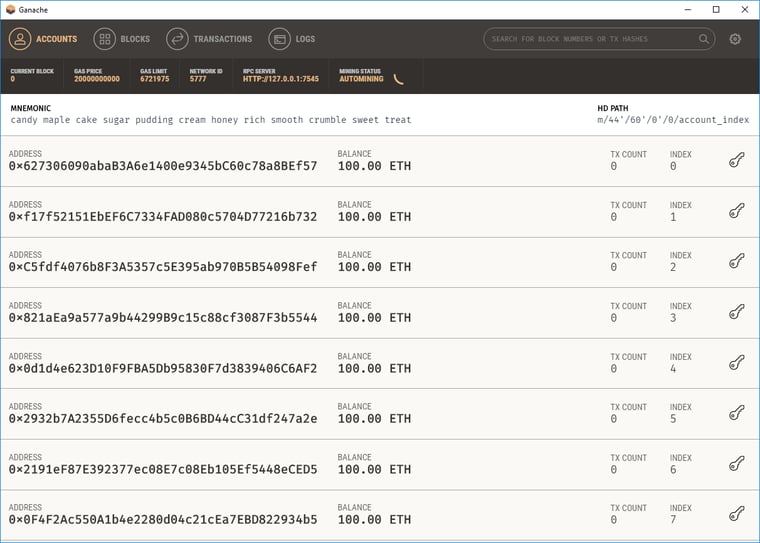
You can see from the UI that the server has an RPC endpoint running at http://localhost:7545 – note this location since you’ll be using it later. If you are running the eth-test-rpc mentioned above the port is likely to be 8545 instead.
Step 2: Install web3
I’m assuming you already have a relatively current version of Node.js installed. From your command line:- npm init
- Answer the questions:
-
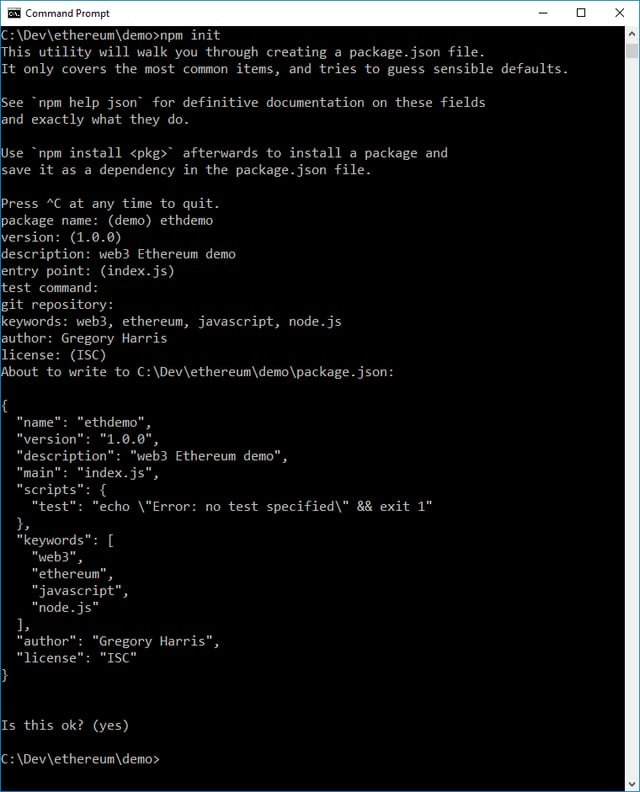
- npm install –save web3 (A lot of building will occur)
- npm install –save solc (This allows us to run the solidity compiler from within node)
Step 3: Create a Contract
For this example we are going to use a trivial contract which just stores a value which is not associated with any currency. Create a new file Trivial.sol with the following content:
pragma solidity ^0.4.17;
contract Trivial {
    address contractOwner;
    // This is the value we are tracking
    uint currentValue;
    // Our contract constructor
    function Trivial() public {
        contractOwner = msg.sender;
    }
    // We are going to emit an event every time the value changes that clients can subscribe to
    event ValueChanged (
        uint newValue
    );
    // Accessor for the current value
    function GetValue() constant public returns (uint) {
        return currentValue;
    }
    // Change the value
    function SetValue( uint newValue ) public {
        currentValue = newValue;
        valueChanged( newValue );
    }
}
Save the file, then check that it is valid:
- Go to https://remix.ethereum.org
- Paste in our contract text
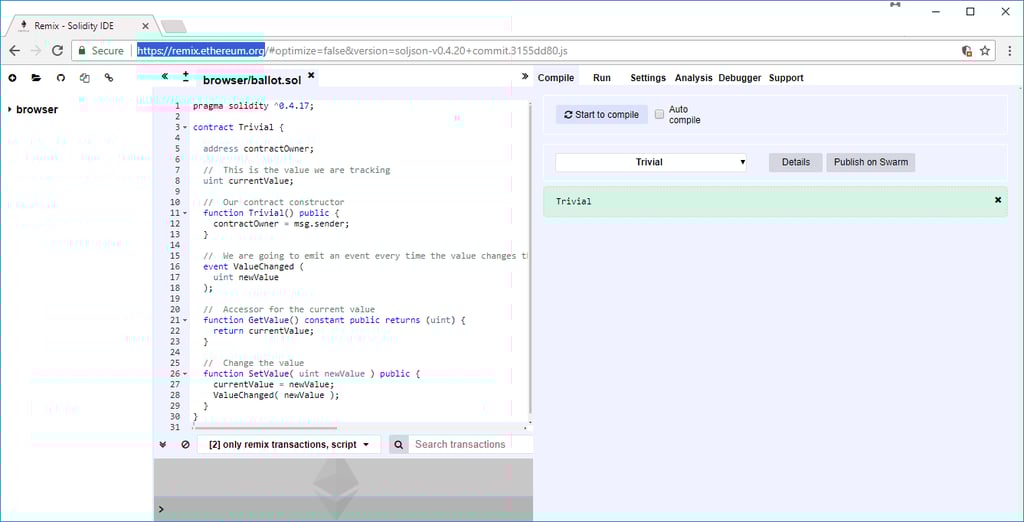
- Click the Start to Compile button and it should come up Green as above.
- Click on Details to show you the results of the compiled contract:
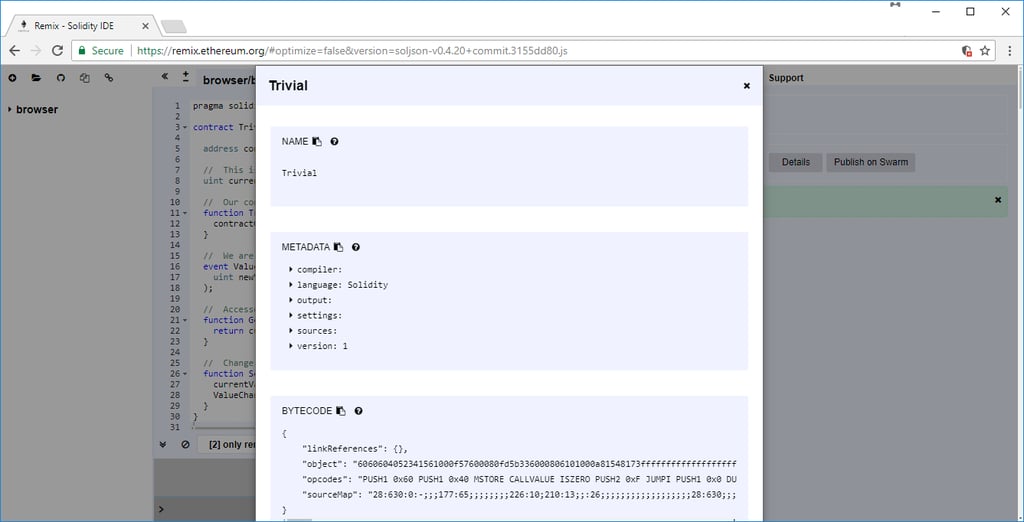
The Bytecode and ABI fields you see here will be needed to deploy the contract later.
Step 4: Start Node.js
From now on you’ll be typing commands into the node.js prompt.
You’ll need to require both web3 and solc:
- web3 = require('web3');
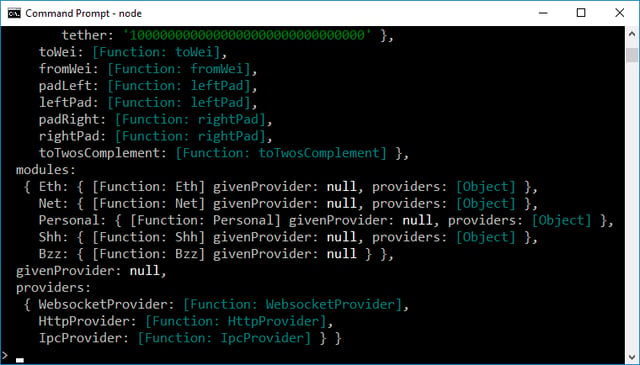
- solc = require(‘solc’);

- web3 = new Web3( Web3.currentProvider || new Web3.providers.HttpProvider( “http://localhost:7545”));
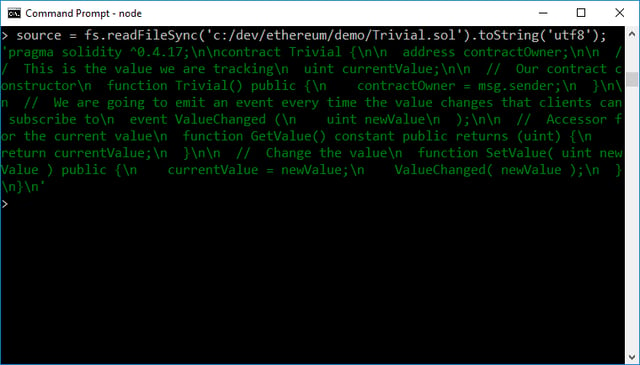
- source = fs.readFileSync(“c:/dev/ethereum/demo/Trivial.sol”).toString(‘utf8’);
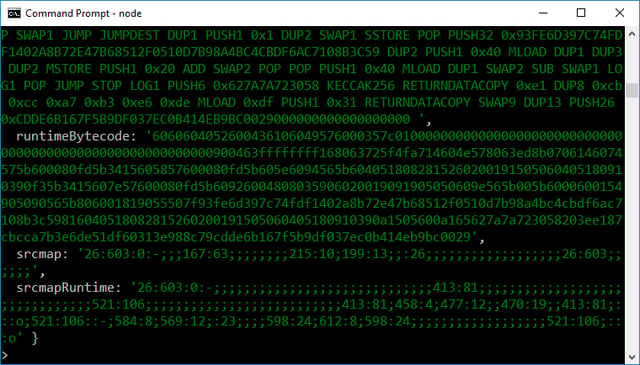
- compiledContract = Solc.compile(source);
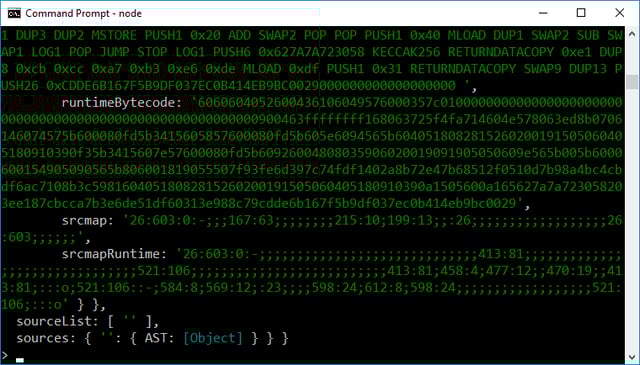
- trivialContract = compiledContract.contracts[':Trivial'];
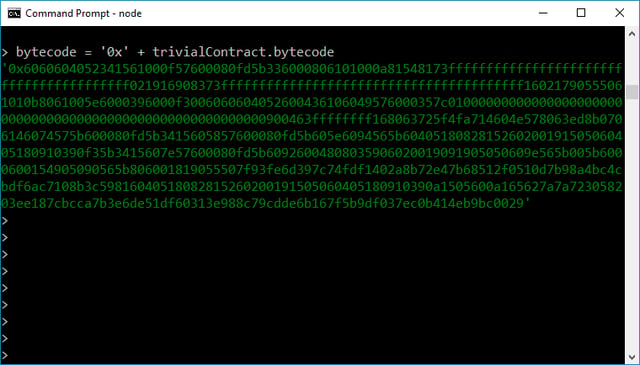
- bytecode = '0x' + trivialContract.bytecode
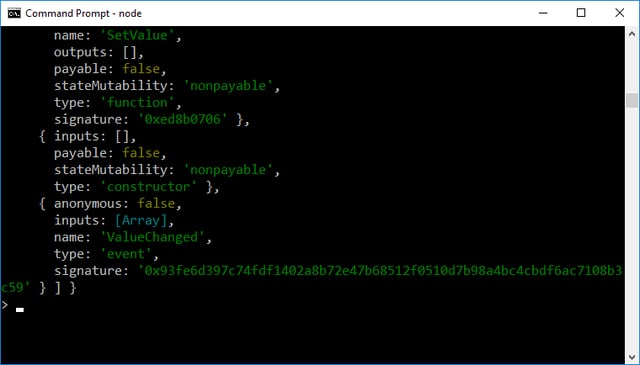
- abi = JSON.parse(trivialContract.interface);
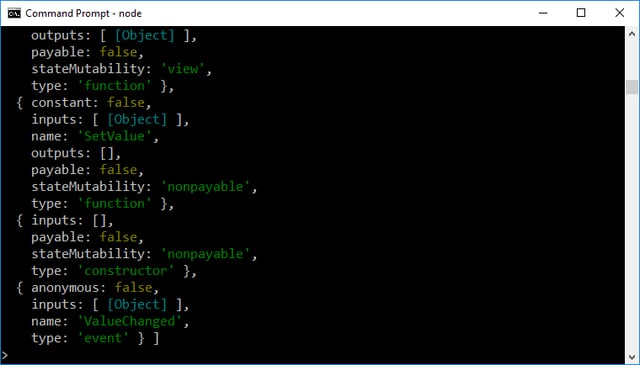
- tc = new web3.eth.Contract(JSON.parse(JSON.stringify(abi)), null, { data: bytecode } );
Step 5: Finding the Current Gas Price
Before we deploy it we find the current gas price and get an estimate of how much it will cost to deploy.
Obtain the Gas Price:
web3.eth.getGasPrice().
then((averageGasPrice) => {
    console.log("Average gas price: " + averageGasPrice);
    gasPrice = averageGasPrice;
}).
catch(console.error);
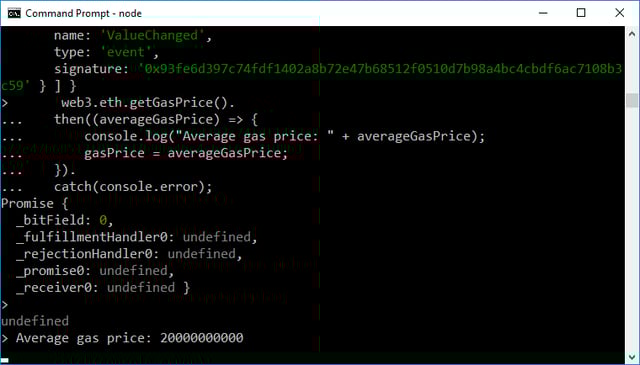
Note the gas price above (this matches what we see from the Ganache console).
Estimate the cost to deploy:
tc.deploy().estimateGas().
then((estimatedGas) => {
    console.log("Estimated gas: " + estimatedGas);
    gas = estimatedGas;
}).
catch(console.error);
Note the estimated gas above, we’ll use this to deploy the contract.
Determine the address from which to deploy the contract – this will be the first address in the list of Accounts in Ganache:
- address = '0xf17f52151EbEF6C7334FAD080c5704D77216b732'
tc.deploy().send({ from: address, gasPrice: 1000000, gas: gas } ).then( function( instance ) {
    console.log( "Contract mined at " + instance.options.address );
    instance = instance;
});
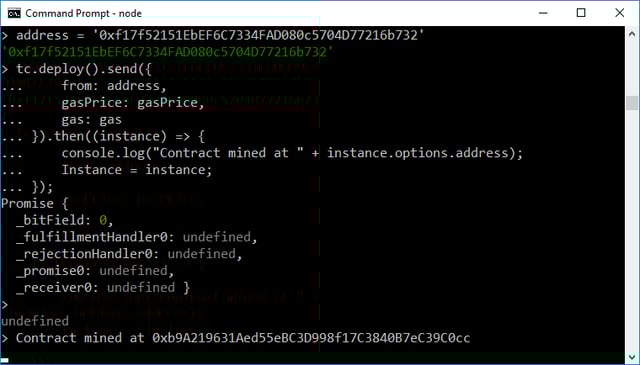
Note the notification that the contract has been mined.
Go to Ganache and look at the Transaction Log where you’ll see the new Contract creation:

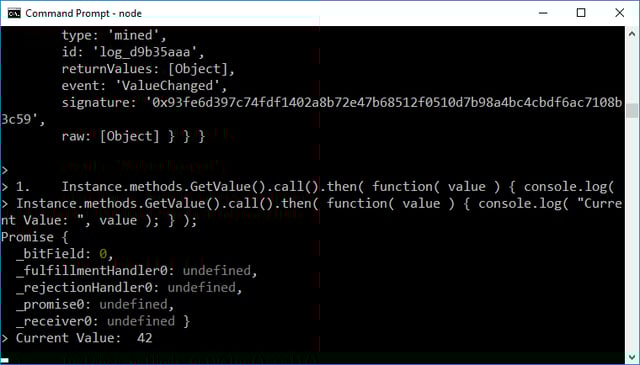
For our first interaction with the contract we’ll check the current value – note that since is a constant method it requires no blockchain transaction and hence no currency:
- Instance.methods.GetValue().call().then( function( value ) { console.log( "Current Value: ", value ); } );
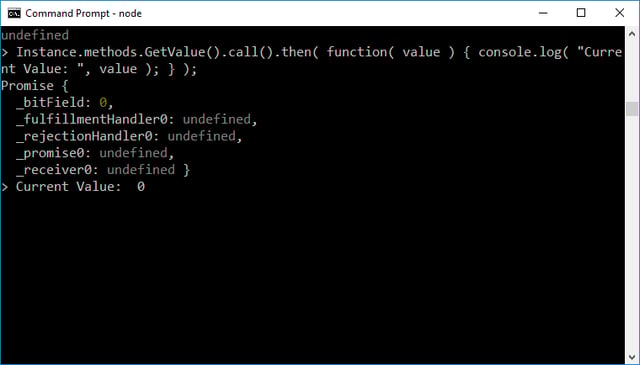
The current value is 0 as we would expect.
In order to change the value, we’ll need to supply funds, so first lets estimate how many we need to supply:
- Instance.methods.SetValue( 42 ).estimateGas().then( function( estimate ) { console.log( "Estimated: ", estimate); requiredGas = estimate; } );

- Instance.methods.SetValue(42).send( { from: address, gas: requiredGas, gasPrice: 1000000 } ).then( function( tx) { console.log( "Transaction: ", tx ); Tx = tx; } );
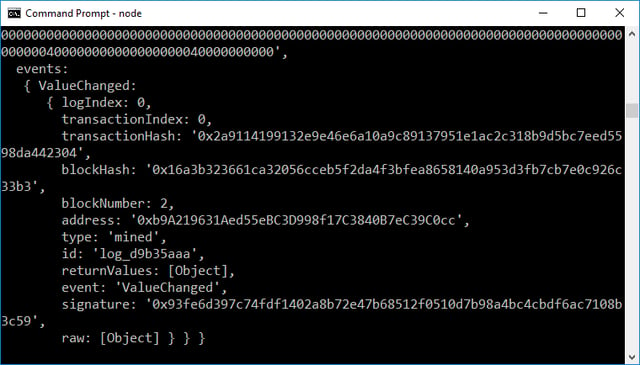
Note that its been mined – lets check the transaction log.

We can see the new transaction at the top of the log.
Lets validate that the change was persisted onto the chain:
- Instance.methods.GetValue().call().then( function( value ) { console.log( "Current Value: ", value ); } );
And there you have it – the value was persisted on the blockchain.


